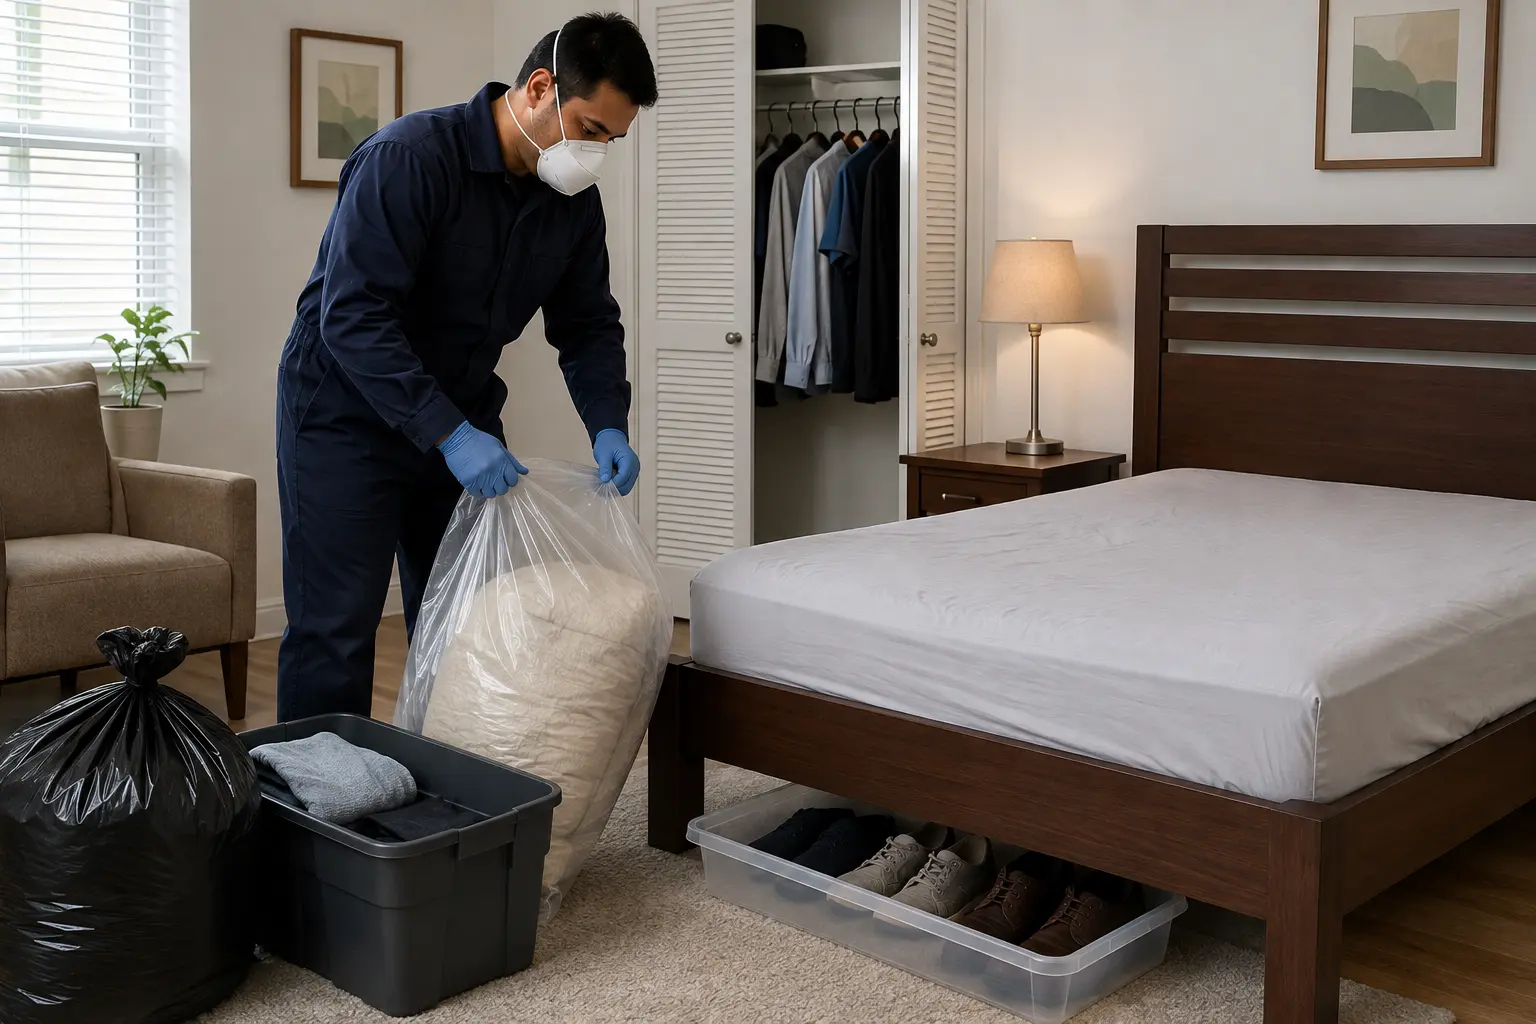
Finding out you have bed bugs is stressful enough. Trying to prepare for bed bug treatment on top of that can feel overwhelming, especially when every pest control company hands you a long list of instructions. The good news is that a clear plan makes the process easier, and it also makes the treatment far more effective.
This guide breaks the work into simple, realistic steps you can follow even if you have a busy household. You’ll see what matters most, what you can skip, and how to get your home ready without losing your mind in the process.
Professional products and equipment do a lot of heavy lifting, but they can’t fix poor home preparation. Bed bugs hide deep in cracks, fabrics, and clutter, so the more access your technician has, the better the results.
Good prep work also reduces the risk of spreading bugs to new rooms while your home is being treated. Small steps like bagging laundry and clearing floor space may not feel dramatic, but they help the treatment work faster and cut down on follow-up visits.
A simple written plan keeps everyone in the household on the same page, especially if multiple rooms are affected. A practical bed bug treatment checklist should break tasks down by area so you don’t bounce randomly from room to room.
List out the key zones you need to cover: bedrooms, living areas, hallways, storage spaces, and any room with upholstered furniture. Once you can see the scope on paper, it’s much easier to decide what you’ll do first and what needs help from a professional.
Bedrooms usually need the most attention before pest control, because beds and nearby furniture are prime hiding spots. Plan to work one bedroom at a time so you don’t mix up bagged items or accidentally move bugs into clean areas.
Living rooms and lounges come next, especially if you often nap on the couch or have guests over. Any space where people sit or rest for long stretches needs the same careful attention you gave to the sleeping areas.
Rushing the day before your appointment is the easiest way to miss important details. Ideally, give yourself several days to work through a realistic bed bug preparation guide so the job feels manageable.
If you live with family or roommates, assign specific rooms or tasks to each person. Clear roles help prevent frustration, and they also make it less likely that someone re-clutters an area after it has already been prepared.
Bed bugs love clutter because it gives them endless places to hide. Thoughtful home preparation focuses on reducing those hiding spots without turning your whole house upside down in one day.
Start with items on the floor: shoes under the bed, piles of clothes, stacks of magazines, and random storage boxes. Each item you remove from the floor gives your technician more clear surface to inspect and treat safely.
You don’t need to empty every single shelf, and you shouldn’t drag furniture into other rooms unless your pest control provider specifically says so. A focused pest control preparation plan keeps furniture in place but clears excess items from around and under it.
Leave large pieces like wardrobes and dressers where they are, and focus on removing loose objects that block access. This balance prevents you from accidentally spreading bugs to new locations while still opening up the critical areas that must be treated.
Targeted cleaning before treatment helps remove some bugs and eggs, but the goal isn’t perfection. You’re trying to make the space easier to treat, not eliminate every single insect on your own.
Most professionals recommend a specific order: deal with bedding and laundry first, then handle vacuuming, and finally bag or contain items that have been cleaned. That way you avoid washing things twice or mixing up clean and dirty piles.
Strip all bedding, including sheets, pillowcases, mattress protectors, and light blankets, and place them into sturdy bags. This is the heart of cleaning before treatment because bed bugs spend a lot of time on fabrics close to where you sleep.
Wash items on the hottest cycle the fabric can handle, then dry them on high heat for at least 30 minutes. Once dry, seal them in clean bags or containers so they stay protected until after the treatment is finished.
Use a vacuum with a crevice tool to work slowly along the mattress seams, bed frame joints, baseboards, and the edges of carpets. Thorough bed bug cleaning by vacuum doesn’t replace treatment, but it can reduce the number of live insects your technician has to deal with.
After vacuuming, remove the bag carefully, seal it in another bag, and take it straight outside to the bin. This extra step keeps any captured bugs from crawling back into the house and undoing your hard work.
Beds and upholstered furniture are central to any treatment plan, so small adjustments make a big difference. Moving a bed just a few inches away from the wall, for example, gives your technician clear access to the headboard and skirting.
If possible, lift bed skirts off the floor or remove them entirely until treatment is complete. Any fabric that touches the floor can act as a bridge, letting bugs climb up without touching treated surfaces.
Personal items like books, toys, and paperwork should be gathered into manageable groups instead of scattered over shelves and floors. Thoughtful treatment preparation means deciding which of those items actually need to stay in the room until after your pest control visit.
Place non-washable items into clear plastic containers if you have them, leaving a bit of space so treatment products can still reach surrounding surfaces. Avoid overfilling boxes, or you risk creating new hiding spots that are hard to inspect later.
Electronics such as laptops, alarm clocks, and chargers should be unplugged and placed neatly on a table or desk. Keeping cables tidy and devices grouped in one spot allows your technician to inspect around them without damaging anything sensitive.
If you have delicate ornaments or framed photos near sleeping or sitting areas, consider moving them to a safe, non-infested room. This simple step keeps breakable items out of the way and makes it easier to treat shelves, side tables, and display units properly.
On the day of your appointment, do a quick walk-through and make sure all rooms to be treated are unlocked and easily accessible. These small bed bug treatment tips help your technician start work right away instead of wasting time shifting boxes or hunting for keys.
Pets should be removed from the home, along with their food bowls, bedding, and toys, for as long as your provider recommends. This keeps them safe and prevents them from picking up bugs that are trying to escape treated areas.
Take one last look at your pest control checklist to confirm that laundry is bagged, floors are clear, and furniture is reachable from all sides. That final check often catches little things you’ve missed, like clothes hanging off a chair or a suitcase hidden under the bed.
Once the treatment is complete, follow all instructions on how long to stay out, when to open windows, and when it’s safe to put washed fabrics back in place. A bit of patience here goes a long way toward making sure the products used in your home have time to do their job.
Getting ready for a professional visit takes effort, but those hours of work pay off when you see fewer bites and more restful sleep. If you prepare for bed bug treatment carefully, you make it much easier for the technician to reach every hiding spot that matters.
If you’re unsure about any step or need help tailoring the plan to your home, reach out to a trusted local provider like Kiran Enterprises for clear instructions before your appointment so you know exactly how to prepare for bed bug treatment and what to expect next.
Get a same-day inspection from our certified technicians.
Chat on WhatsAppOr call +91 98452 73699